Currently Empty: ₹0.00


CI/CD
CI/CD with Maven, GitHub, Docker & Jenkins

Overview
This blog will demonstrate, how you can setup CI/CD with Java, Maven, GitHub & Jenkins. However, this approach should work with other programming language stack as well with some customization.
Hardware & Software requirements
Fedora 42 64-bit OS
Quad Core Processor
32GB RAM
200 GB HDD Storage.
Installing Docker Community Edition in CentOS 7.x
sudo yum install -y yum-utils
sudo yum-config-manager \
--add-repo \
https://download.docker.com/linux/centos/docker-ce.repo
sudo yum install -y docker-ce docker-ce-cli containerd.io
sudo systemctl enable docker && sudo systemctl start docker
sudo systemctl status docker
sudo usermod -aG docker $USER
newgrp docker
docker --version
Installing Jenkins
cd ~
wget https://get.jenkins.io/war-stable/2.332.2/jenkins.war
Launching Jenkins from a terminal
cd ~
java -jar ./jenkins.war
You may access your Jenkins using any web browser. You may substitute localhost with the IP address of the machine where Jenkins is running.
http://localhost:8080
The first time you launch your Jenkins, you will get a screen as shown below
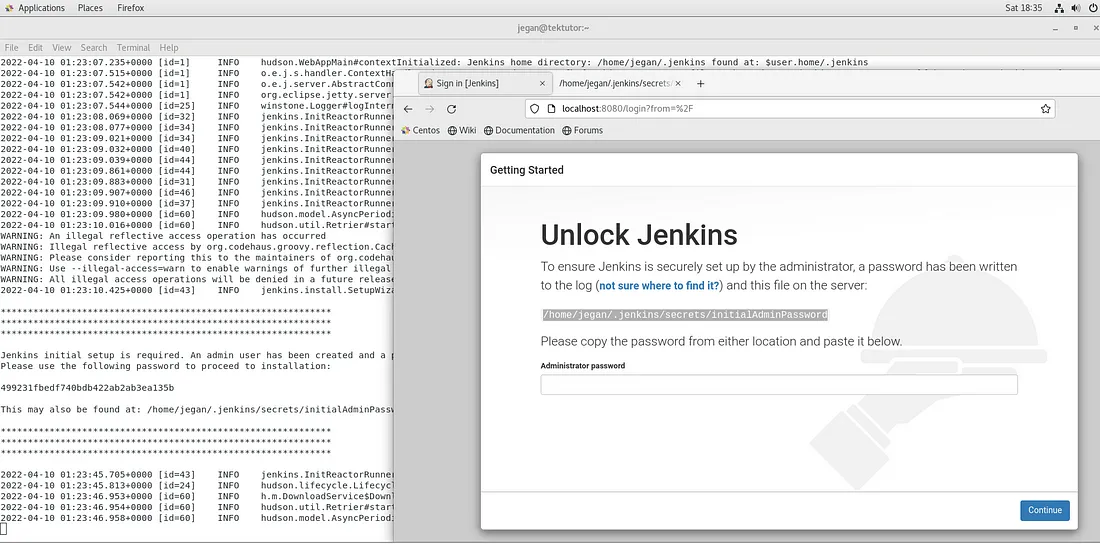
Though you may copy & paste the password from the terminal, you may also retrieve the password from your web browser as highlighted in the screenshot above.
Once you supply the Administrator password, you will be presented with the below page.
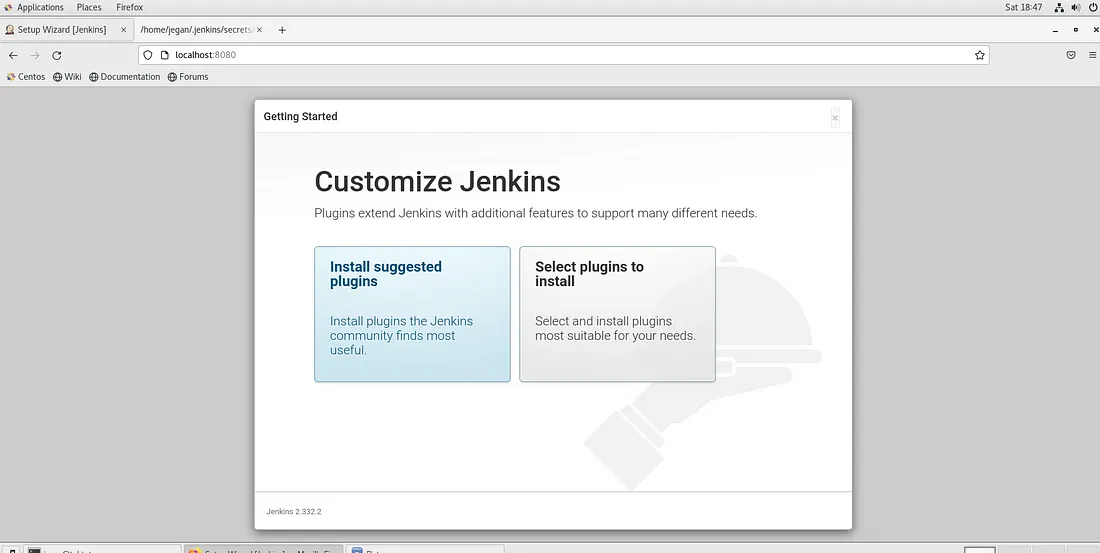
I would suggest your select Install suggested plugins as this will install the basic set of plugins that would be required for everyone.
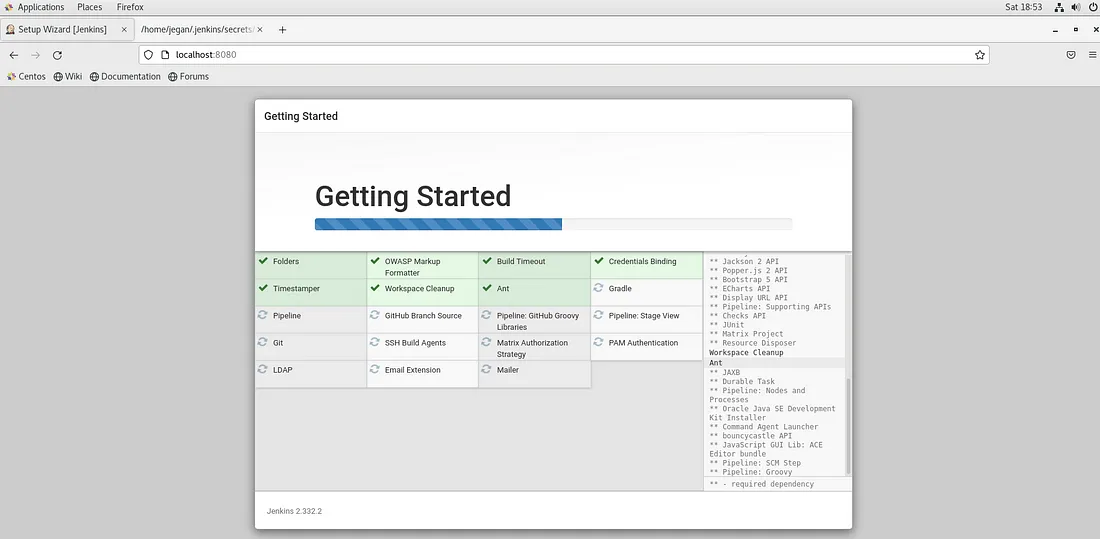
Once the essential plugins are installed, Jenkins will take you to the below screen.
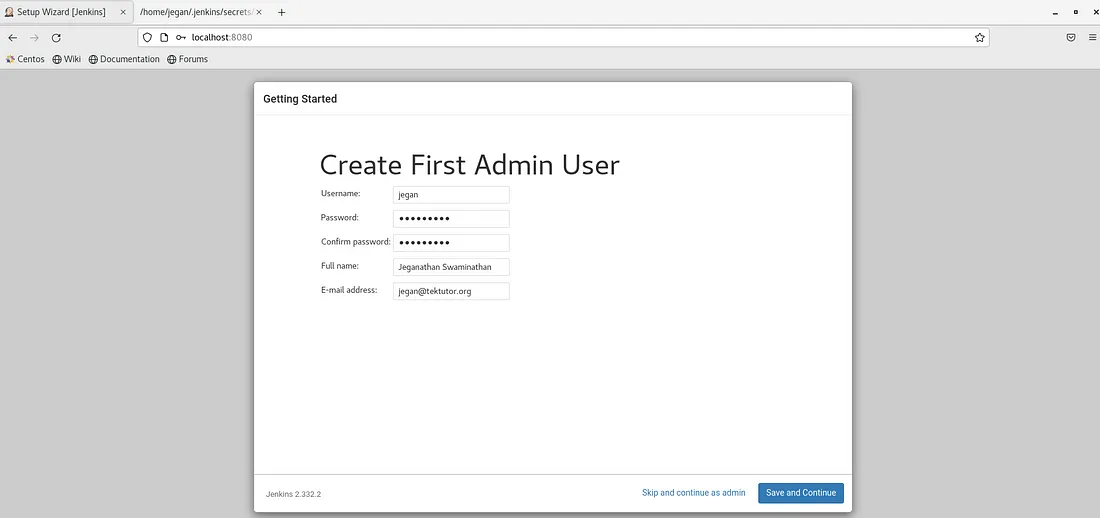
At this point, you can create an user and click on Save and Continue button. You will be presented with the below screen.
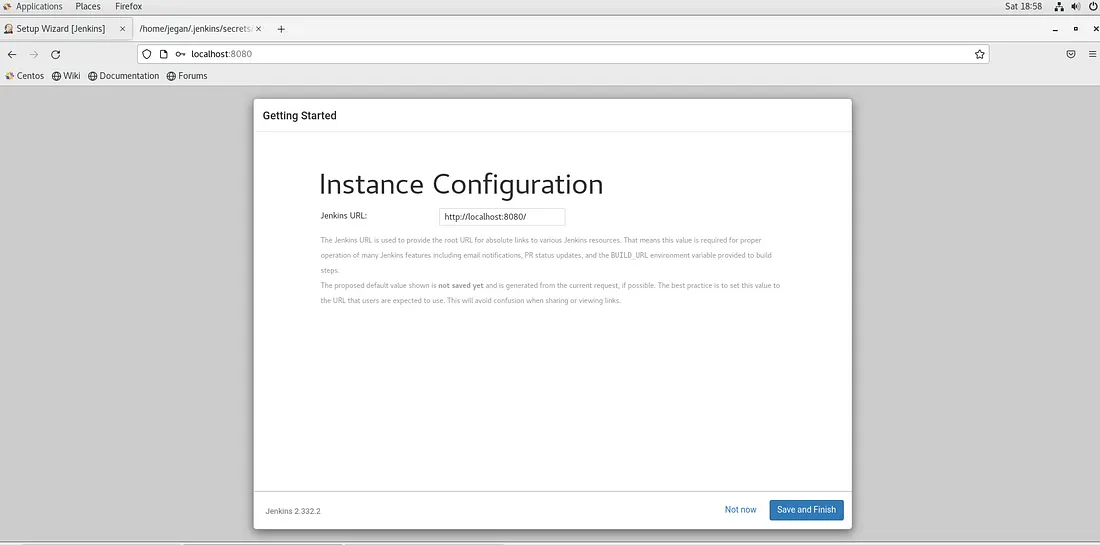
You may accept the default URL and click on Save and Finish button.
At this point, you will see the below screen.
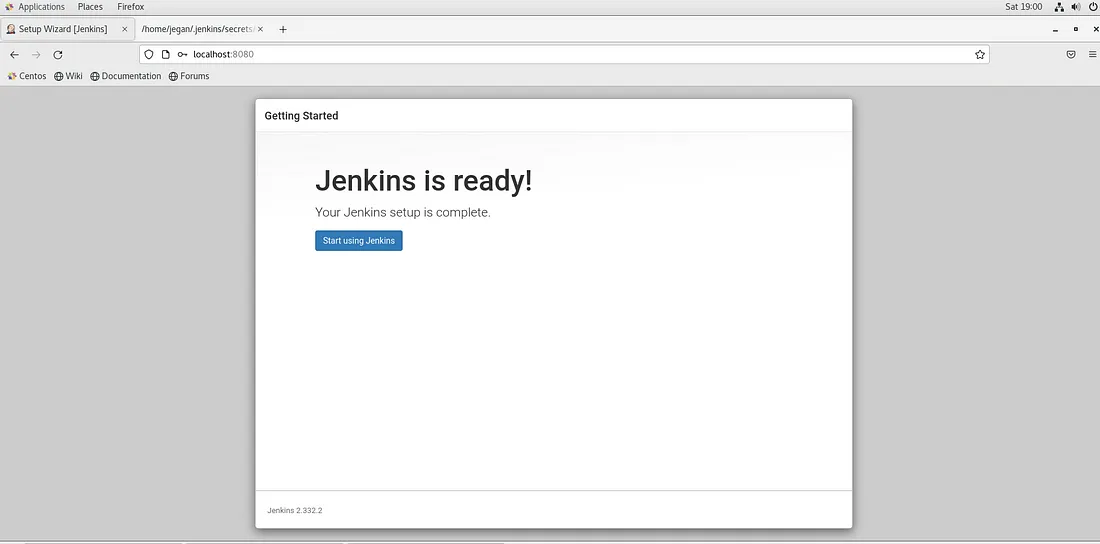
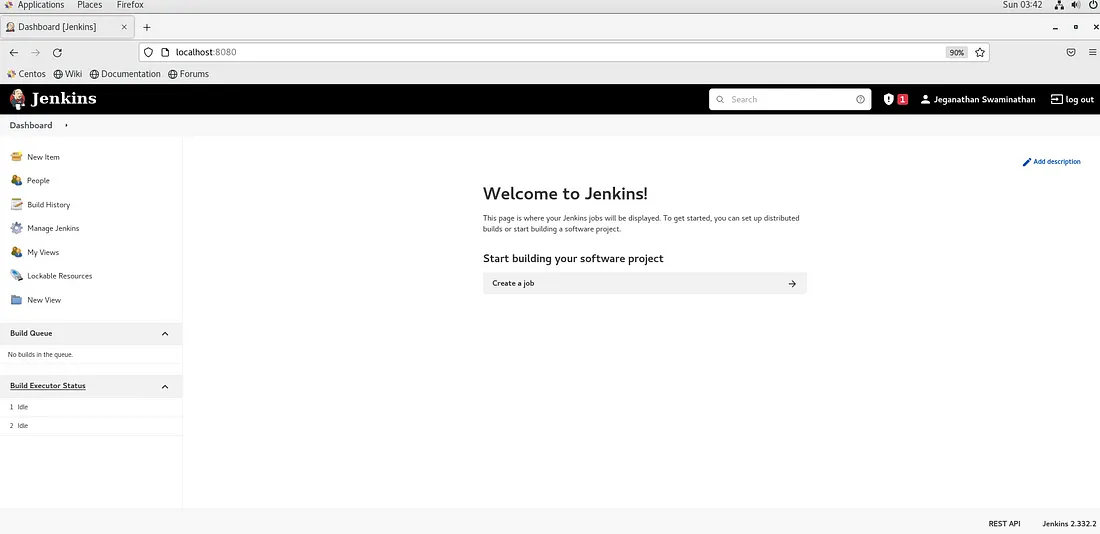
You can click on Start using Jenkins button. You will be presented with the below Jenkins Dashboard screen.
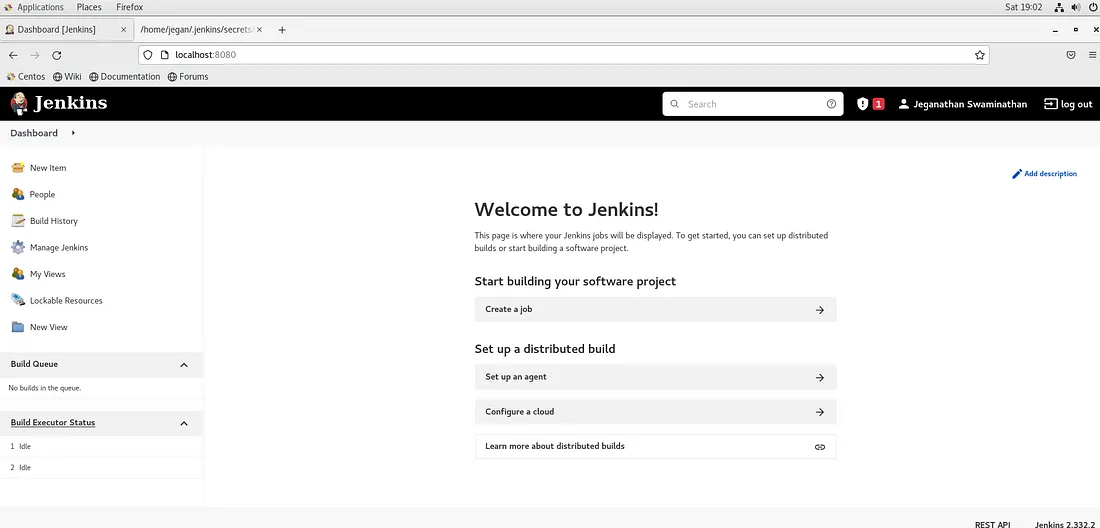
We need to install some additional plugins. Navigate to Manage Jenkins → Manage Plugins →Available Tab and search and install Docker plugin and Blue Ocean Pipeline plugin as shown below.
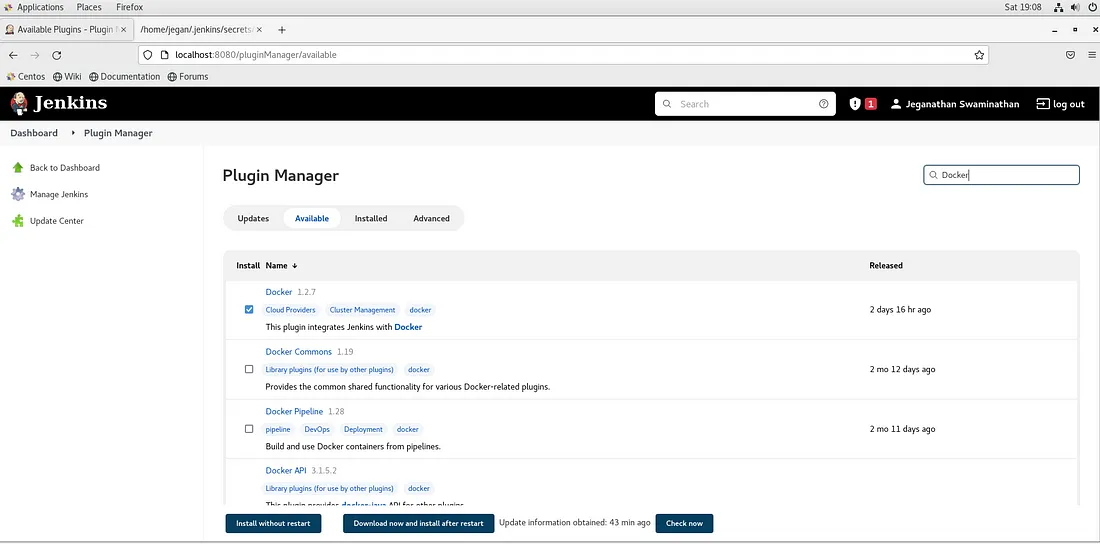
You may now click on Install without restart button.
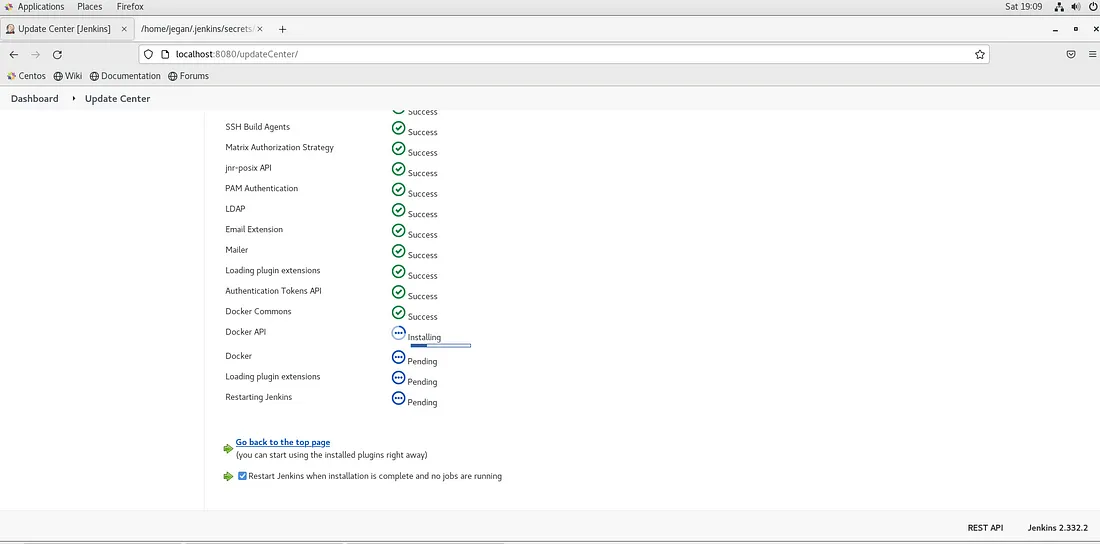
Select the check box Restart Jenkins when installation is complete and no jobs are running.
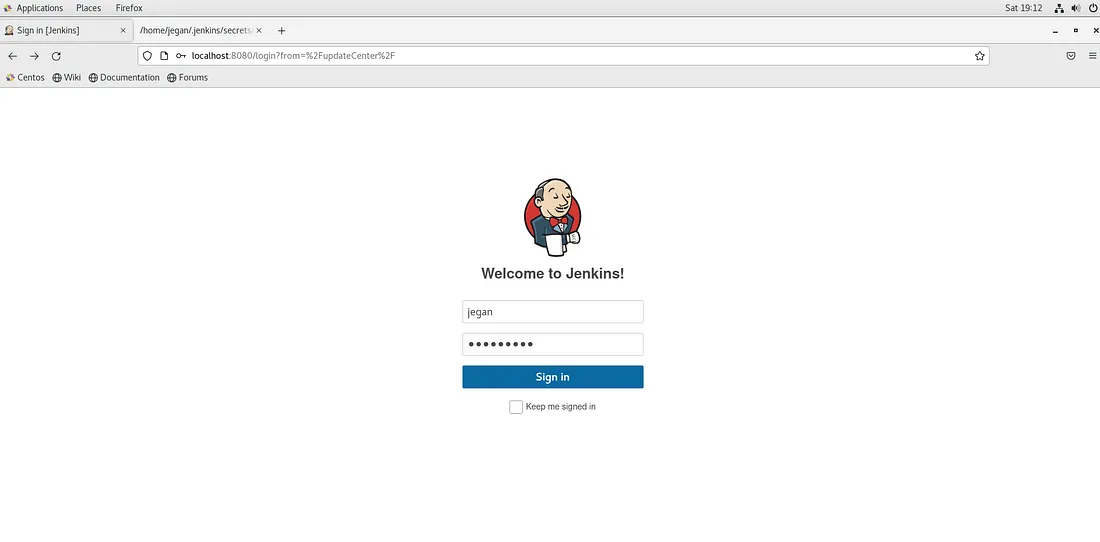
Once Jenkins is restarted, you will be asked to login as shown above. You may login with the user credentials you created.
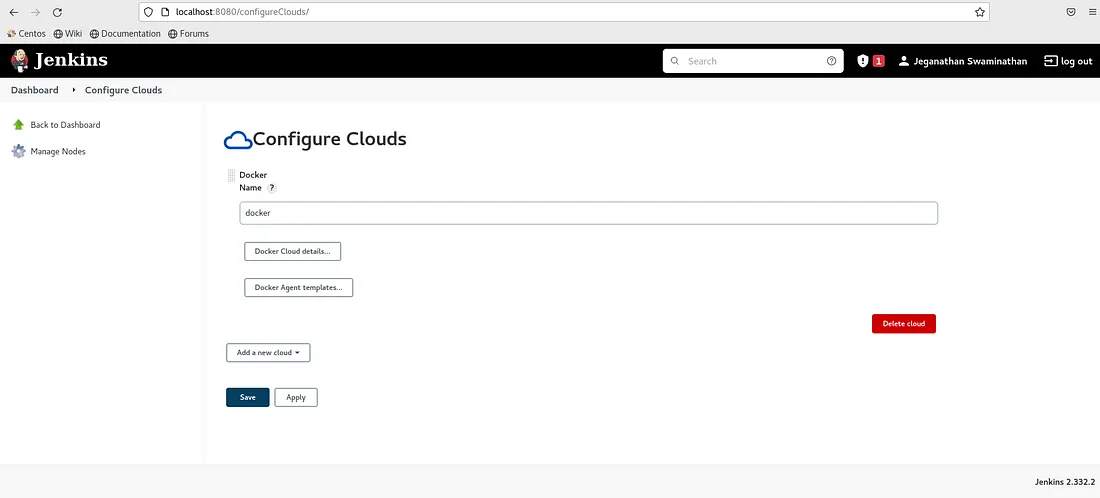
Once you logged in, you can navigate to Manage Jenkins → Manage Nodes and Clouds → Configure Clouds as shown below.
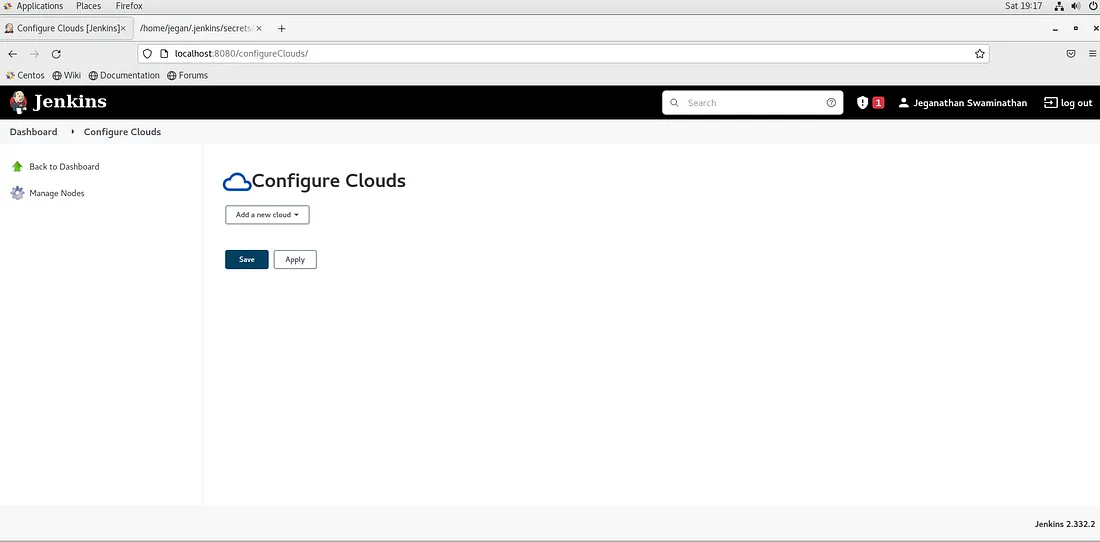
Now you need to click on Add a new cloud in the combo box and select Docker.
You need to click on Docker Cloud details. In the Docker Host URI, you can type tcp://localhost:4243 or the IP address of the machine wherever Docker is installed and click on Test Connection.
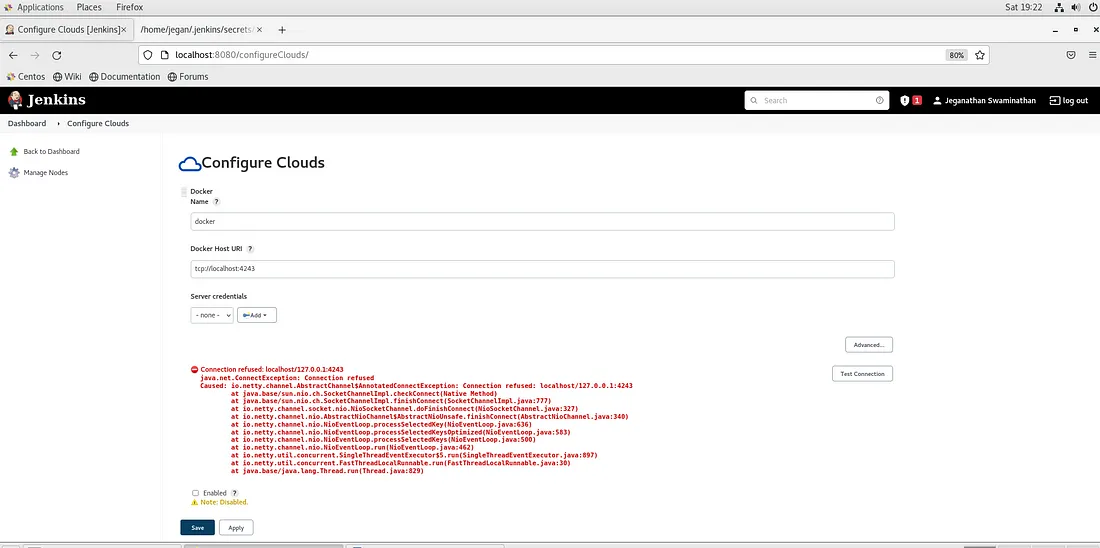
At this point, we can configure Docker Daemon(Server) to enable TCP socket to support remote docker clients.
Find the path of the docker service as shown below
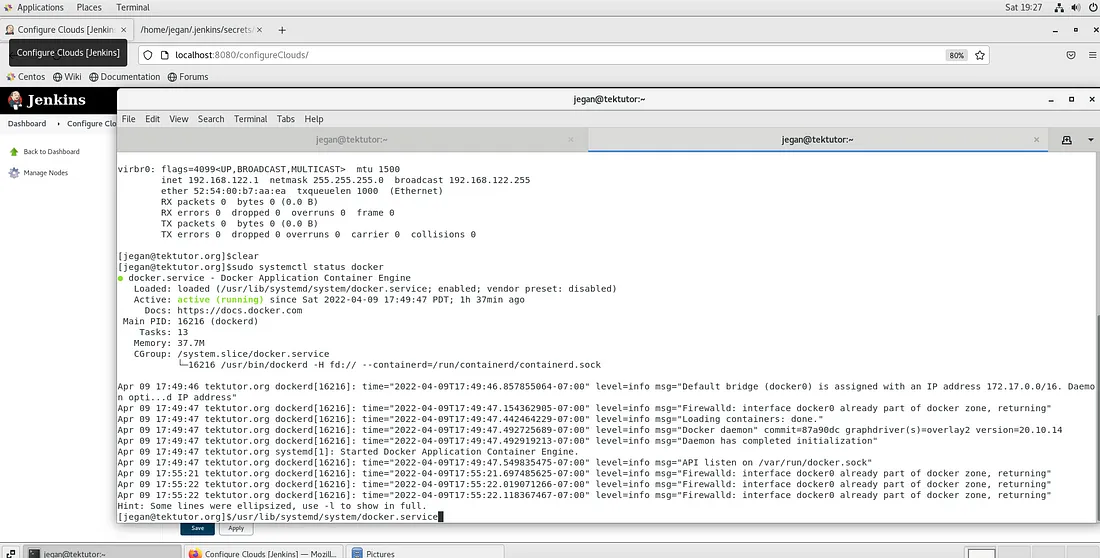
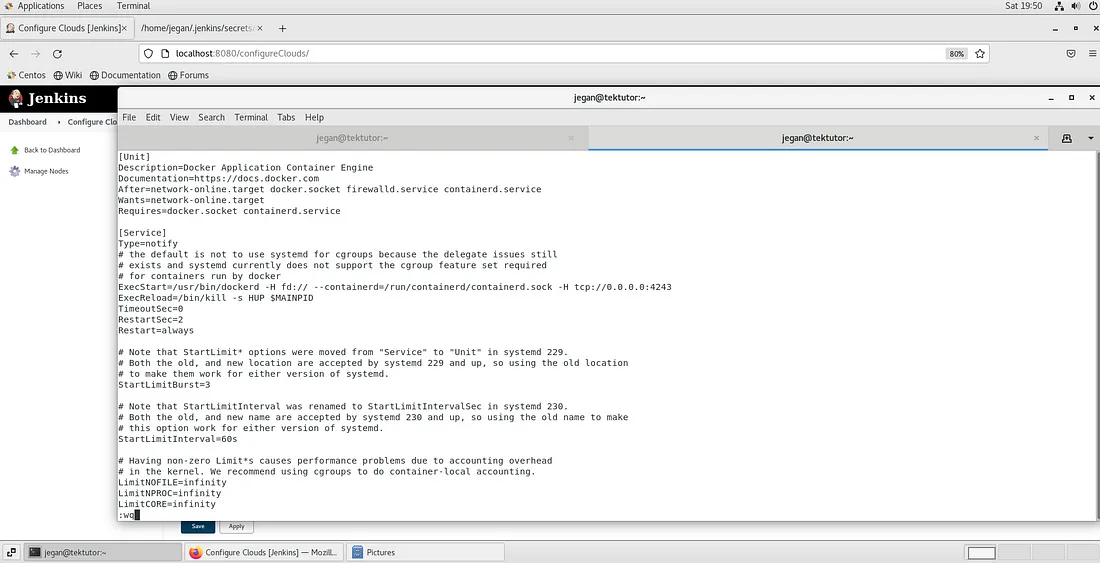
As an Administrator, you need to edit the file /usr/lib/systemd/system/docker.service and append the below line
tcp://0.0.0.0:4243
In the above, 0.0.0.0 implies, Docker server will listen at port 4243 for client requests on all the network interfaces active on the server . If you wish to restrict it to a particular network interface, you can do so by replacing 0.0.0.0 with the appropriate IP address for security reasons. However, for this blog, let’s continue using tcp://0.0.0.0:4243.
As per docker documentation, for un-encrypted communication, port 2375 is used while 2376 port is used for encrypted communication. However, you may change this to any available port as per your preference. We are setting up an un-encrypted communication with port 4243.
To apply the config changes, we need to restart docker service.
sudo systemctl daemon-reload
sudo systemctl restart docker
sudo systemctl status docker
After confirming docker service is active with the updated config changes, you can head-over to Jenkins and test the Docker cloud configuration.
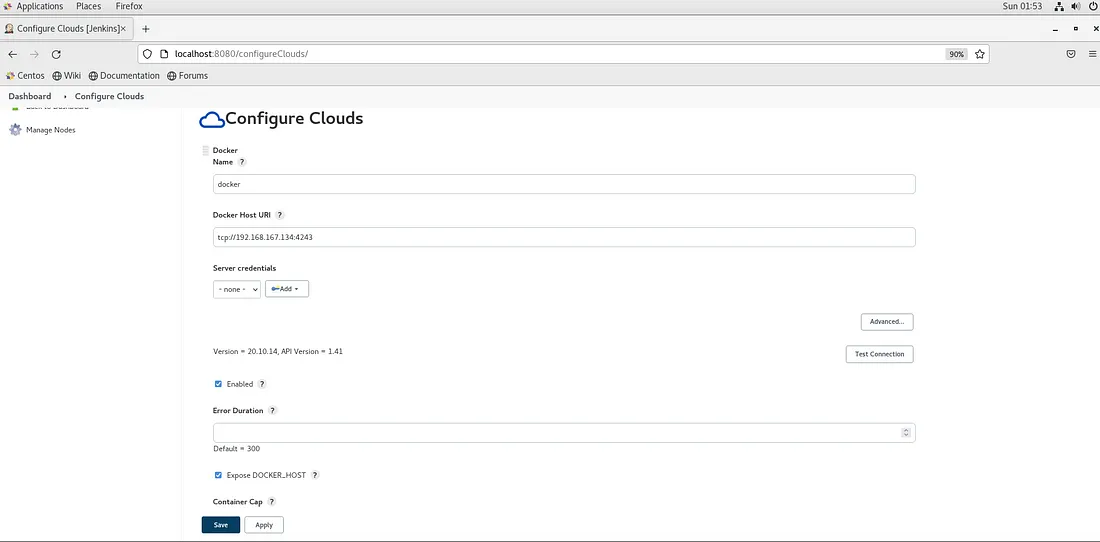
As you can see in the above screenshot, Jenkins is able to communicate with Docker via TCP socket.
Make sure the Enabled and Expose DOCKER_HOST check boxes are selected as shown in the screenshot above.
You can now proceed with the Docker Agent Templates configuration by clicking on the button Docker Agent Templates and followed by Add Docker Template button.
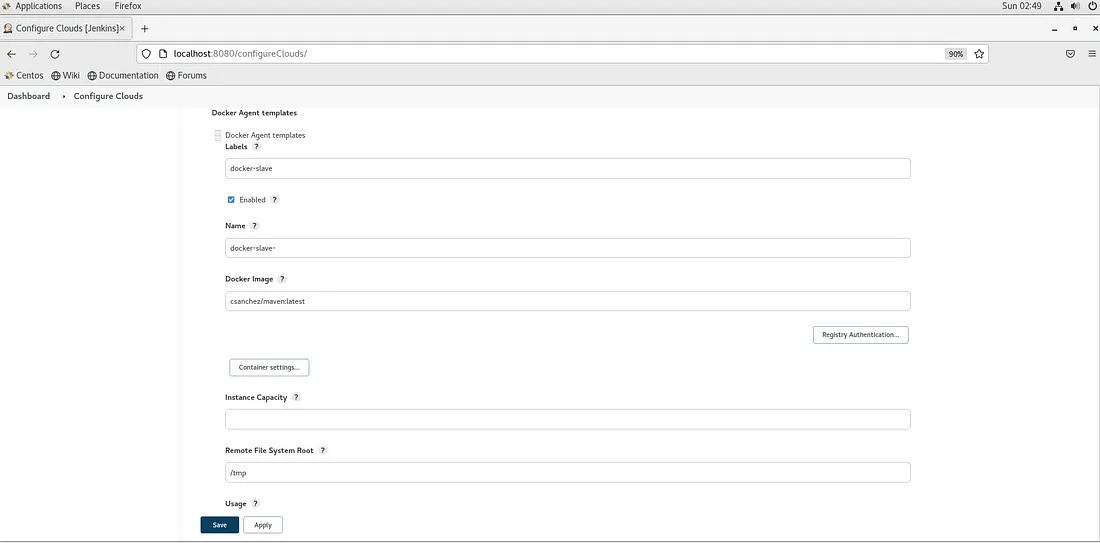
As shown above, make sure the Label field has docker-slave or your preferred label. This is the label your Jenkins job will refer to use this configuration.
I used csanchez/maven:latest as the Docker Image that comes with JDK v17.0.2 and maven v3.8.5 with git v2.27.0. You may use any image of your choice.
The Remote File System Root value /tmp indicates, we want Jenkins to use /tmp folders as the Jenkins workspace directory.
I chose Usage with value Only build with label expressions matching this node to restrict only the Jenkins job that refers the docker-slave label will be able to use this configuration. However, you may decide as per your preferred choice.
I chose Connect Method with value Attach Docker container and finally for Pull Strategy I chose Pull once and update latest and Saved the configuration.
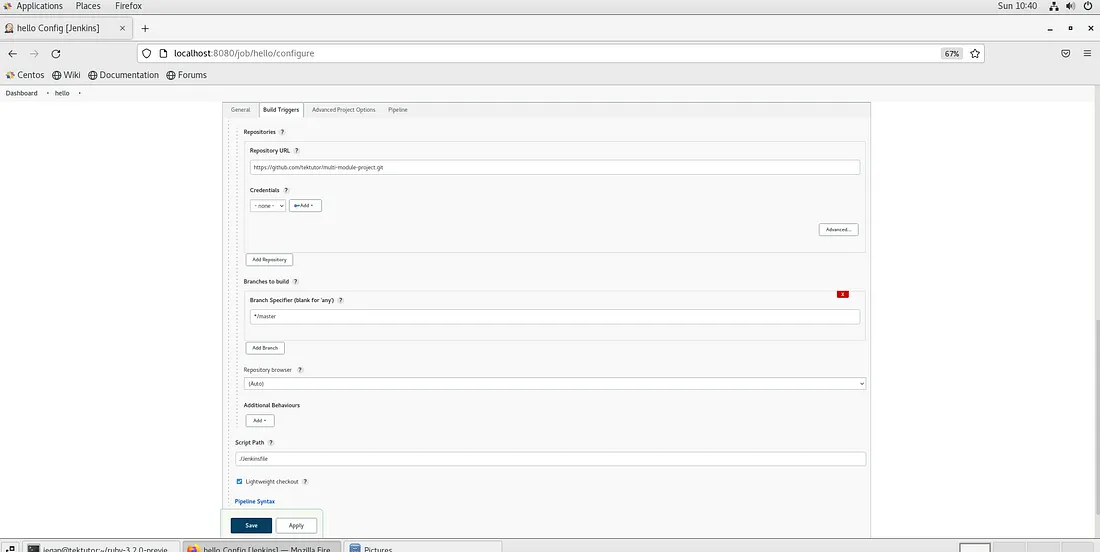
Let’s setup a Continuous Integration build for my sample project at GitHub https://github.com/tektutor/multi-module-project.git.
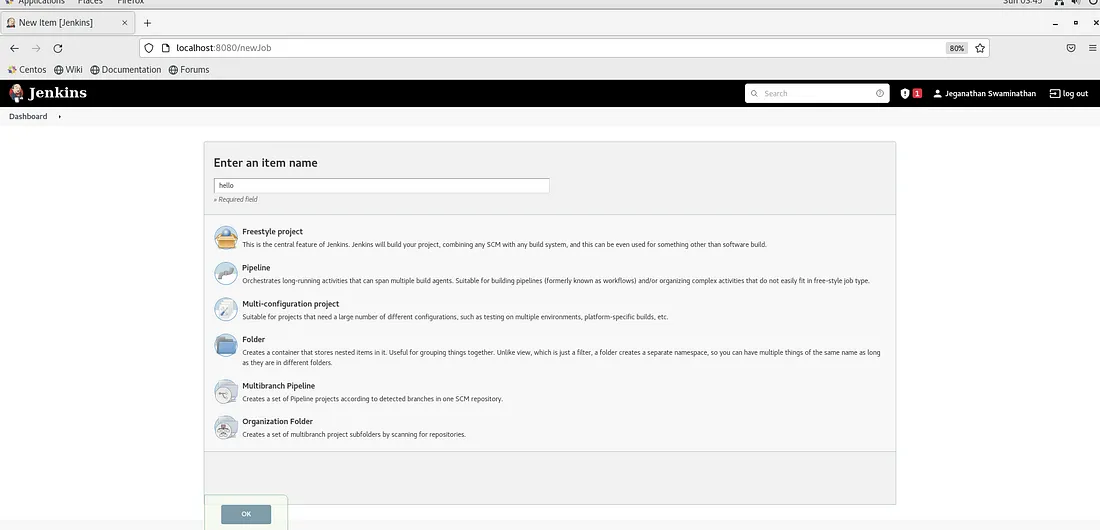
From the Jenkins Dashboard main page, click on Create a Job or New Item menu.
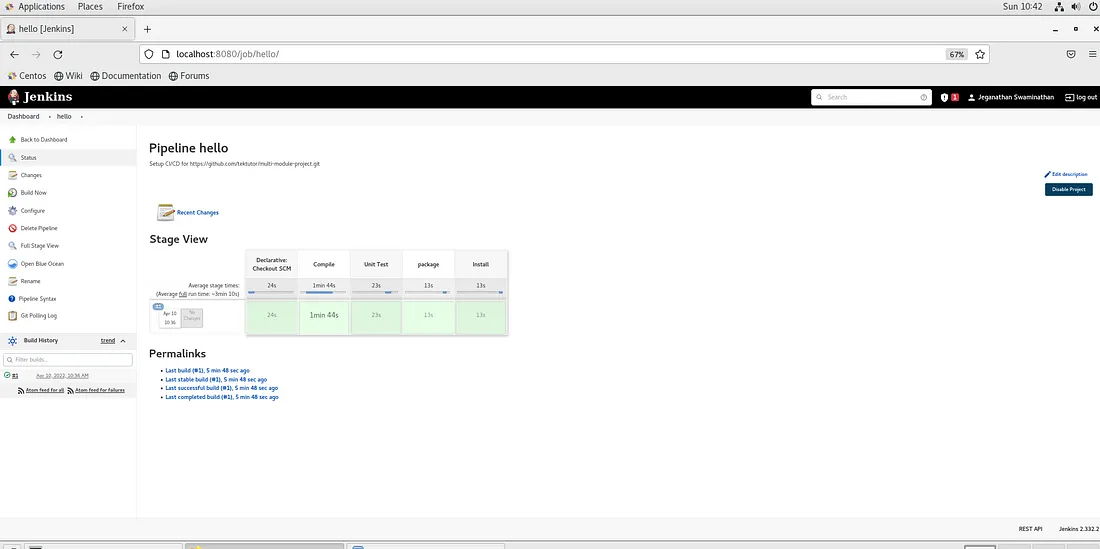
Let’s name the Pipeline project as hello as shown below.
You can try my simple Jenkinsfile pipeline from https://github.com/tektutor/multi-module-project/blob/master/Jenkinsfile.
Jenkinsfile
#!/usr/bin/env groovy

pipeline {    agent {
        label 'docker-slave'
    }    stages {
        stage('Compile') {
            steps {
                script {
                    sh "mvn clean compile"
                }
            }
        }
        stage('Unit Test') {
            steps {
                script {
                    sh "mvn test"
                }
            }
        }
        stage('package') {
            steps {
                script {
                    sh "mvn package"
                }
            }
        }
        stage('Install') {
            steps {
                script {
                    sh "mvn install"
                }
            }
        }
    }
}
The pipeline job general section description is optional. Every 2 minutes the hello Jenkins job will poll the GitHub repository to look for any code commit. When it senses a code commit, it triggers the pipeline execution.
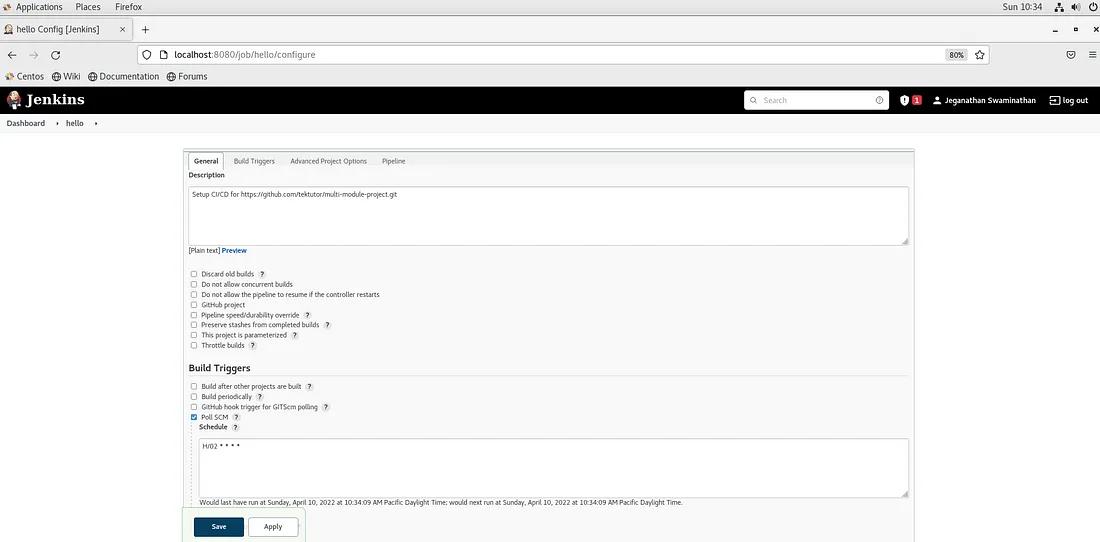
You may check the other configurations in the screenshot below.
The pipeline will be triggered automatically every time there is a code push to the GitHub repo referred in the Jenkins pipeline job. The Blue Ocean pipeline looks as shown below.